Residential Design |
• |
Plans & Permits |
• |
Green Building |
• |
Period Homes |
 |
 |
||
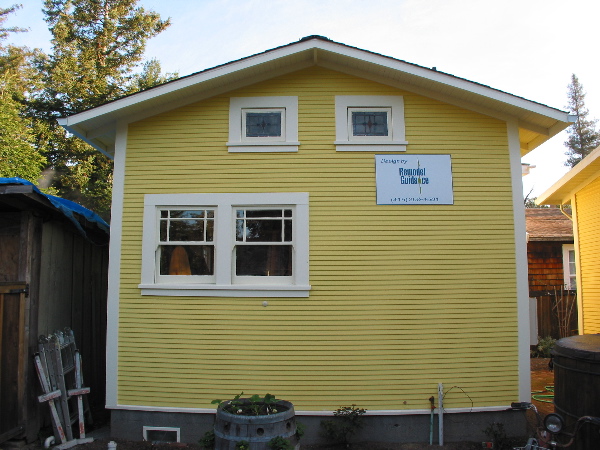
Project Report, Spring 2008:
|
 Sash Weatherstripping (Lower) |
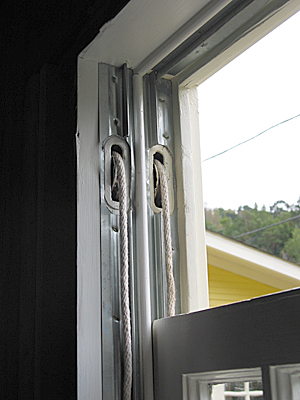 Sash Weatherstripping (Upper) |
Once the outer (upper) sash is reinserted into the jamb, its side weatherstripping is stapled to the jamb. For zinc coated weatherstripping, we use galvanized staples. For bronze weatherstripping, we use stainless steel staples to reduce the chance of galvanic corrosion.
After the upper sash has been installed, the parting beads are reinserted and the lower (inner) sash is installed in a similar fashion, followed by the upper and lower horizontal weatherstripping.
If the weatherstripping has been installed correctly, the action of the windows is smooth and solid, and the infamous drafts are eliminated. Once the interior of the house is completed, we'll do a "blower door" test to verify the efficacy of our weatherstripping, but that's a topic for a future issue.
The green building topics "Deconstruction" and "Vintage Green Windows - Just Add Weatherstripping" will explore the issues and tradeoffs of double vs. single pane windows further, but for more "how to" information on wooden window restoration and weatherstripping, consult these references:
- Working Windows by Terence Meany
- Pull back the curtains to show the finer points of fenestration by Terence Meany, SF Chronicle, April 3, 2004
- Save Your Wood Windows by John Leeke, Historic HomeWorks
- Sash Window Secrets by OHJ Technical Staff, Old House Journal
- Strips and Storms - Techniques for tuning up sash windows for winter by Steve Jordan, Old House Journal
- The Repair of Historic Wooden Windows by John H. Myers, Old House Journal
- Double-Hungs Restrung by David Strawderman, Fine Homebuilding #64, January 1, 1991, pp. 48-49
- Restoring Window Sashes by David Gibney, Fine Homebuilding #161, March 1, 2004, pp. 84-89
- New Life for Old Double-Hung Windows by John Michael Davis, Fine Homebuilding #192, November 6, 2007, pp. 76-79
- Investing in Old Windows by Bruce Irving, This Old House Television
- Hard Decisions to Make When Old Windows Need Lots of Help by Bruce Irving, This Old House Television
- Saving Old - Really Old - Windows by John Stahl, This Old House Television
- Historic Chicago Bungalow Association - Bungalow Brief: Window Restoration
Bay Area companies which service old windows and fabricate replacement sashes include:
- Wooden Window, 849 29th St., Oakland, 510-893-1157 or 415-357-1370
- Novato Glass, 1020 Reichert Ave., Novato, 415-897-5117
- DK Screens - Repairs or replaces wood screens for windows and doors (408) 294-2307
- Hobel Woodworking - Wood sash windows, also furniture, cabinetry, architectural woodwork 414 Umbarger Road, Unit D, San Jose, CA 95111 - (408) 224-5000
- Out Of The Woods - Custom wood sash windows & doors 138 E. Lake St., Salinas, CA 93901 - (831) 424-9049
- Restoration Windows - Wooden window restoration - (415) 572-8700
- Sheets Enterprises - General & Electrical contractor, specializes in doors and windows, custom cabinets and mill work 24 Sutter St., San Jose, CA 95110 - (408) 292-1132
- The Old House General 707-579-1672 Window Restoration and Wood Window Balance Repair Services in Napa, Sonoma, Marin and Humbolt Counties Only. Window Restoration, Wood Sash Repair using Old Growth Materials, Window Balance Restoration, Wood Restoration and Conservation, Weatherstripping, Window Hardware, Glazing, Vintage and Period Glass, Paint Stripping and Removal.
Voice/Fax: 415-258-4501 |
• |
info@remodelguidance.com |
• |
www.remodelguidance.com |